
 English
 Deutsch
 Español
 Português
 Français
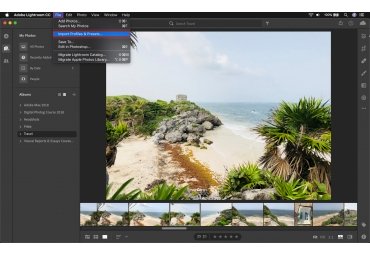


04 / Oct, 2018
Comment 9467 Views Come creare facilmente una LUT in Photoshop
Category: Fotografia
How to Easily Make a LUT in Photoshop
At the basic level, a LUT ( color look-up tables) is a preset that performs color grading and various other visual effects.
Create Your Edits
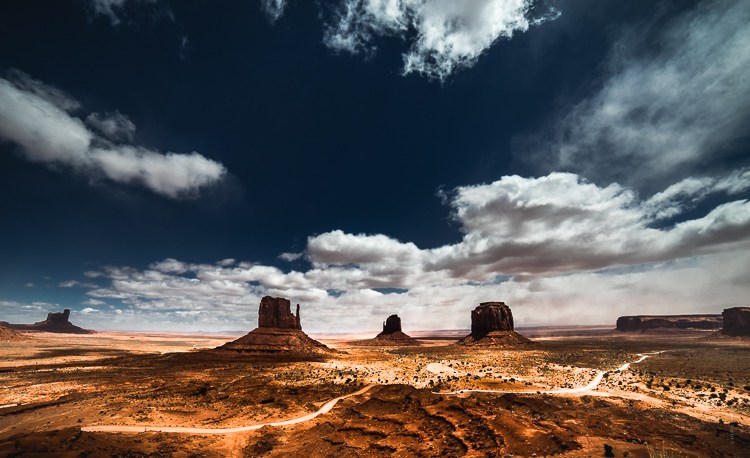
To get started you need an image file. This image can be either RAW or JPEG. If you’re planning on using your LUT in video processing then it’s a good idea to use a screen capture from your video file. For the purposes of this tutorial, I’ll be using a previously processed JPEG.
Once your photo is opened in Photoshop you can begin to make the edits that will be exported as a LUT. You’ll have the power of all the options located in the adjustments panel at your fingertips.
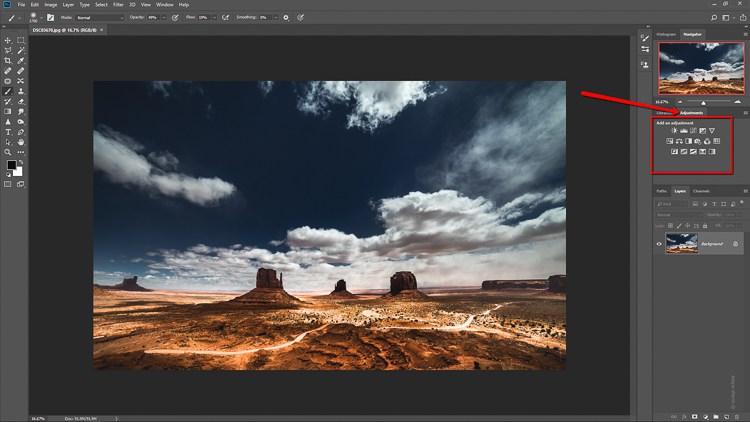
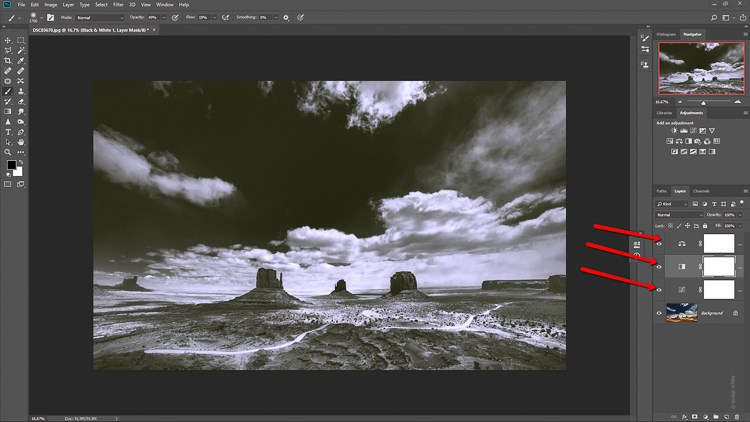
While you change the fill and opacity of the adjustment layers you won’t be able to add in any masking or more advanced filters. This is somewhat of a bummer, but given the fact that we’re doing all of this in Photoshop it’s a limitation we’ll have to live with for now. For this image, I’ve added three adjustment layers: Color Balance, Curves and Black and White.
With all of the edits applied, it’s time to actually export the adjustments in the form of a LUT which can then be used for creating profiles to play around with inside v7.3 Lightroom Classic or ACR 10.3 and a host of other awesome uses.
Exporting the LUT
You’ll be happy to know that exporting the adjustments as a LUT is ridiculously easy. Under the main menu at the top click File > Export > Color Lookup Tables…
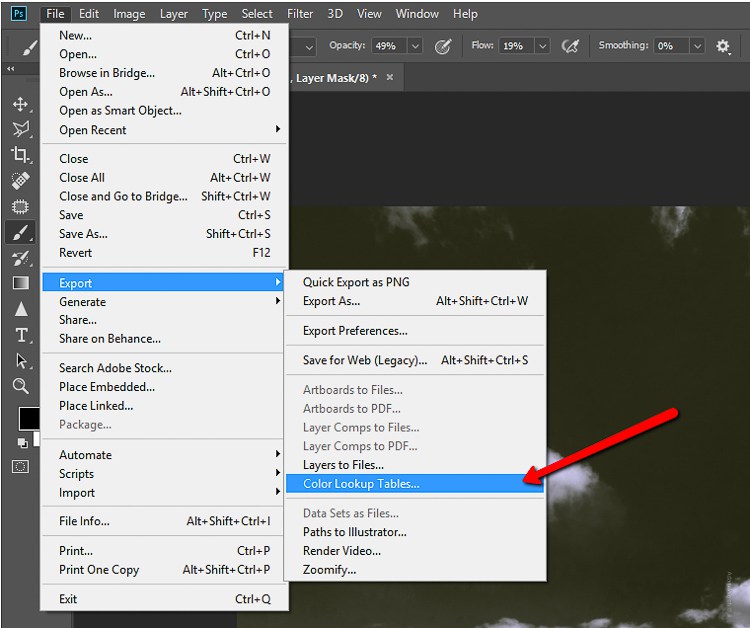
This brings up the export dialog and you now find yourself faced with a few options before you can export the LUT. First, you have the choice to name the LUT. Make it something descriptive.
If you want, you can bypass this step as you will give the LUT its own filename in just a moment. Personally, I don’t always name the LUT at this time. You can enter in any copyright information you choose.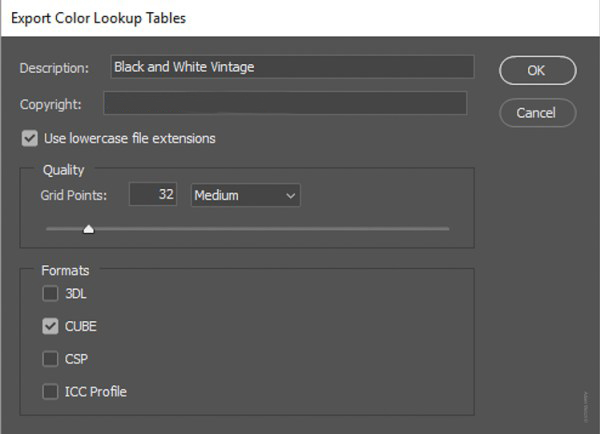
The last two options are the most important. Choosing the quality of the LUT and its file format is essential to be able to efficiently apply the LUT later in whatever application you might be using. Leave the quality set to Medium which will give a good balance between load times and quality.
The file format you choose will depend on what you’ll be doing with the LUT. For example, if you will be using your LUT to make profiles for Lightroom be sure to save it as a CUBE file. When you’re finished, click OK.
This brings you to the final step of the LUT manufacturing process. All that’s left to do is to choose where you’ll save the LUT.
You’ll notice that you now have the opportunity to again name your LUT. It’s here where you’ll want to make sure you give it a name that is easy to find. Once you’ve decided on file name and destination just click Save to store your brand new LUT!


